com·po·si·tion:
a series of short tutorials on different compositional techniques you can use to make images with stronger impact.
Our responsibility as photographers is to show ordinary subjects in extraordinary ways, to point out what the casual or indifferent observer overlooks, that which the vigilant observer sees. Being attentive and alert observers is not even enough. We must show what we see in ways that capture the imagination and attention. We must show the world from an original and novel point of view.
Eye-level is boring.
Showing the world around us in this way means using your position to create a unique perspective or point of view. There are several obvious approaches including getting low, high, very close, using unusual angles, or obscuring your subject in interesting ways.
Get Low, Step Closer.
There are many images taken at eye level, but unless they use other strong compositional elements, they are just repeating the view seen by every other person walking around the face of this earth. One of the easiest methods for adding impact to an image it to get lower and closer.
On the left is a simple image of a child playing on the Prado in Havana Cuba. The has a lot of potential with a cute kid, nice expression, and interesting color play, but there is no presence. The eye-level point of view has simply copied a simple scene and, and due to the camera position, there are a lot of details competing with the top of the child’s head.
In contrast, the image on the right was taken after taking a step or two closer and getting in lower. This image has great presence and is very dynamic. There are no distractions around the child’s head. You can use your position to bring your subject’s head and shoulders above the horizon line which not only removes distractions, but also conveys a sense of elevated stature.

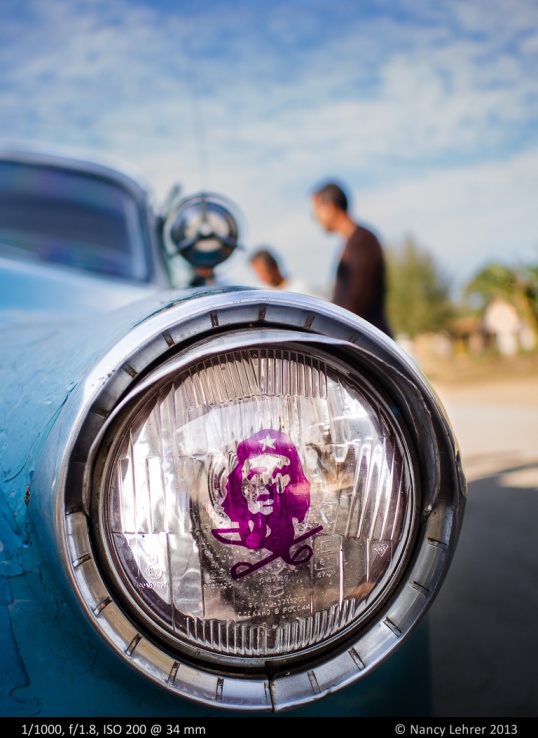
Getting low and close also gives you the opportunity to show details and context as seen with this image on the rooster on the farm in Trinidad, Cuba or with these old American Cars in the heart of Havana.
Get High
By seeking a higher vantage point you can begin to show the relationships between objects and display graphic designs. Notice the use of horizontal lines in this image looking down on a street full of Taxis in San Francisco and the patterns formed by the stars and pedestrians on Hollywood Boulevard.
Go Behind Something
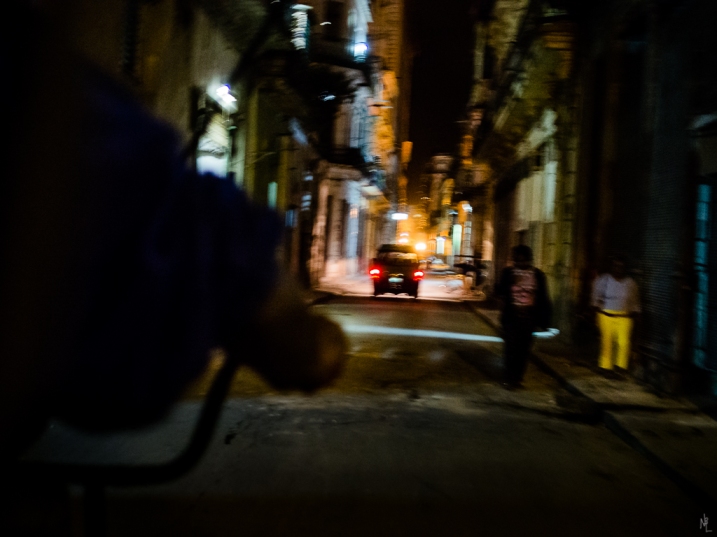
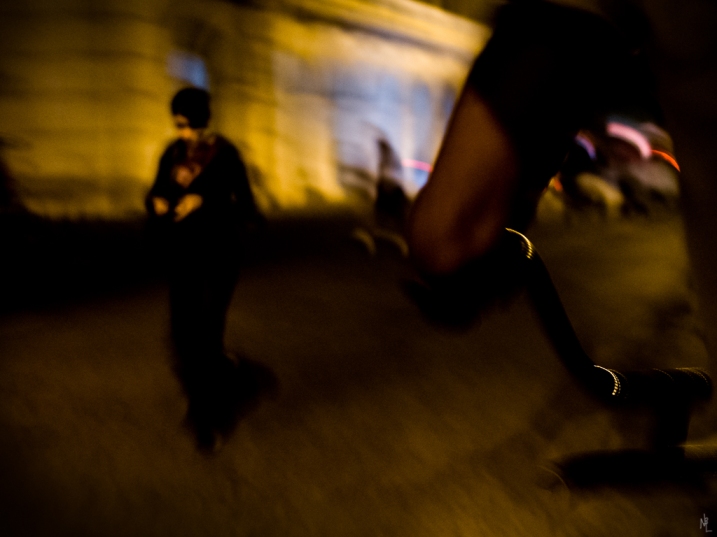
Shooting behind something can add mystery, story, and context. Here is a two images taken from the back seat of a pedicab, or BiciTaxi as they are known in Havana Cuba. In each image I made sure to include the context of the taxi driver to ensure the point of view.
Don’t be Obvious
In summary here are things you can do to add Point of View to make your images have a stronger impact
- Explore your subject from different angles
- Get low, get high
- Get closer
- Shoot from under items
- Use occlusion
- Use wider angles


Very nicely done tutorials – good examples, good points.
Thanks. I do these as presentations for the TO Photo club. I have over a dozen of them and need to get them out on the web.